How to Use the Epson Adjustment Program to Fix Ink Waste Pad Full Error
If your Epson printer displays the message "Waste Ink Pad Full," it's a sign that the internal ink counter has reached its preset limit. While the actual ink pads may not be physically full, Epson’s system automatically triggers this warning after a certain number of print cycles. If left unresolved, your printer may completely refuse to operate, leading to costly service visits.
The Epson Adjustment Program, commonly referred to as the Resetter Tool, is designed to reset this counter and allow the printer to function normally again. This guide will walk you through the reset process, ensuring your printer is back to working condition without unnecessary expenses.
Understanding the Waste Ink Pad Error
Epson printers include waste ink pads, which absorb excess ink from printhead cleaning cycles. Over time, these pads collect ink, and instead of monitoring actual saturation levels, Epson printers rely on a software-based counter that estimates usage.
Common Signs That Your Printer Needs a Reset
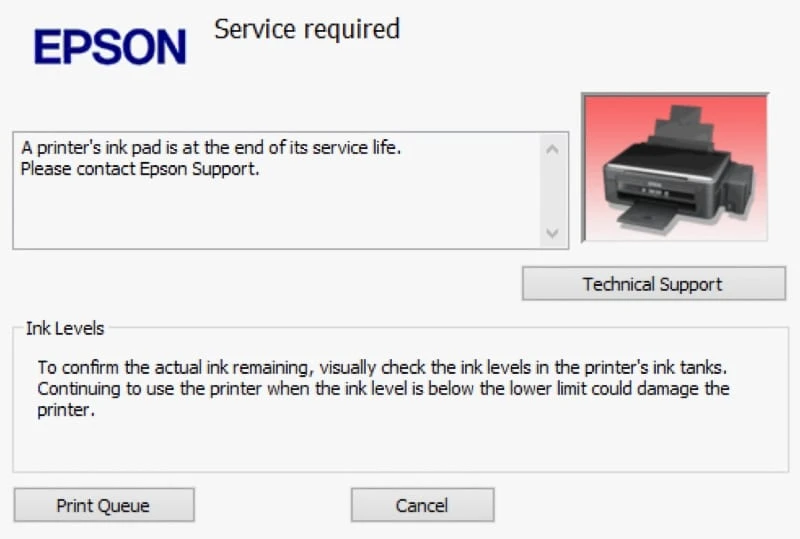
- Printer displays "Ink Pad is Full," "Service Required," or "Maintenance Required."
- Print jobs fail to start, even though the printer appears operational.
- Excess ink pooling in the output tray or near the printer’s bottom.
Why Use the Epson Adjustment Program?
Instead of replacing ink pads or taking your printer to an authorized Epson service center, resetting the waste ink pad counter can help you restore printer functionality instantly. Here’s why using the Epson Adjustment Program is beneficial:
- Fixes "Service Required" error and allows continued use.
- Saves money by eliminating the need for professional service repairs.
- Extends printer lifespan and prevents unnecessary downtime.
- Provides a simple, DIY solution without requiring technical expertise.
What You Need Before Resetting Your Printer
Before performing the reset, ensure you have the following:
- A working Windows PC or laptop compatible with Windows 7, 8, 10, and 11.
- The Epson Adjustment Program downloaded from a trusted source.
- A USB cable for connecting your printer to the computer.
- Installed Epson printer drivers to ensure proper recognition.
- A stable power source to prevent interruptions during the reset process.
Note: Some antivirus programs may flag the reset tool as a potential threat due to its ability to modify printer data. If necessary, temporarily disable antivirus protection before running the resetter.
Step-by-Step Guide to Resetting the Waste Ink Pad Counter
Follow these steps carefully to reset your Epson printer waste ink pad counter.
Step 1: Download the Epson Adjustment Program
Obtain the latest version of the Epson Adjustment Program, ensuring it's compatible with your printer model. Store the file in an easy-to-access folder on your computer.
Step 2: Connect Your Printer
Use a USB cable to connect your Epson printer to your Windows PC or laptop. Ensure your computer recognizes the printer—check the device list under the Control Panel if needed.
Step 3: Launch the Epson Adjustment Program
- Open the Epson Adjustment Program and select your printer model.
- Choose Waste Ink Pad Counter Reset from the options.
Step 4: Reset the Waste Ink Pad Counter
- Click Initialize and confirm the reset request.
- The printer will process the command—this may take a few seconds.
- Once the reset is complete, the program will display a success message.
Step 4: Watch the Epson Reset Process in Action
If you're unsure how to perform the reset, watch this quick demonstration to guide you through the process.
Step 5: Restart the Printer
Turn off the printer and restart it. Check if the error message has been cleared and print a test page to confirm functionality.
Maintaining Your Printer After Reset
Resetting the waste ink pad counter solves the immediate issue, but maintaining your printer can prevent future errors. Follow these best practices.
- Avoid excessive printer cleaning cycles to reduce waste ink accumulation.
- Periodically inspect the physical waste ink pads for saturation.
- Consider replacing the ink pads if they appear overly saturated.
Need Assistance?
If you're unsure how to reset your printer or need the latest Adjustment Program, feel free to contact us or download the recommended reset tool from the links below.