Fixing Canon Pixma Ink Absorber Full Error
If you've ever encountered the dreaded "Ink Absorber Full" error on your Canon Pixma printer, you know how frustrating it can be. Your printer suddenly refuses to work, leaving you stuck with unfinished printing tasks. Fortunately, this issue is fixable, and in this guide, you'll learn step-by-step methods to resolve it.
Understanding the Canon Pixma Ink Absorber Error
Before diving into solutions, it's important to understand why this error occurs. Canon printers have an internal ink absorber—small pads that collect excess ink from printhead cleaning cycles. Over time, these pads become saturated, triggering an automatic error message to prevent ink overflow. When this happens, your printer may stop functioning until you reset or clean the absorber.
Common Signs of Ink Absorber Problems
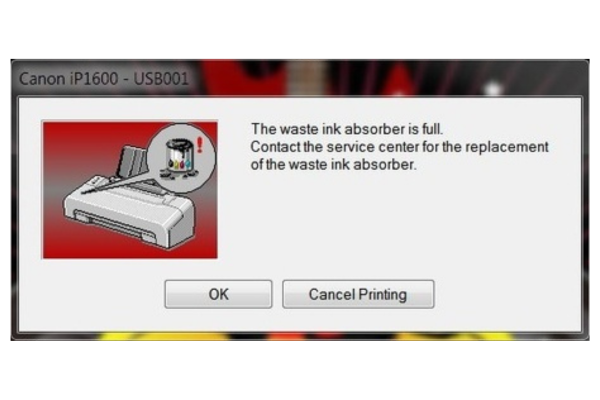
- Your printer displays an error message such as "Ink Absorber Full."
- Print jobs won't start, and the printer blinks orange multiple times.
- Visible ink pooling near the paper output tray.
Step 1: Enter Service Mode
The first step in resolving the issue is entering service mode, which allows you to override system warnings and perform internal resets. Here's how:
- Turn off the printer.
- Press and hold the Resume/Stop button.
- While holding it, press and hold the Power button until the green LED lights up.
- Release the Resume/Stop button but keep holding Power.
- Press the Resume/Stop button five times, then release the Power button.
- The printer should enter service mode, with the LED turning amber, then green.
Step 2: Reset the Ink Absorber Counter
Once in service mode, you can manually reset the ink absorber counter using Canon’s service tool. Follow these steps:
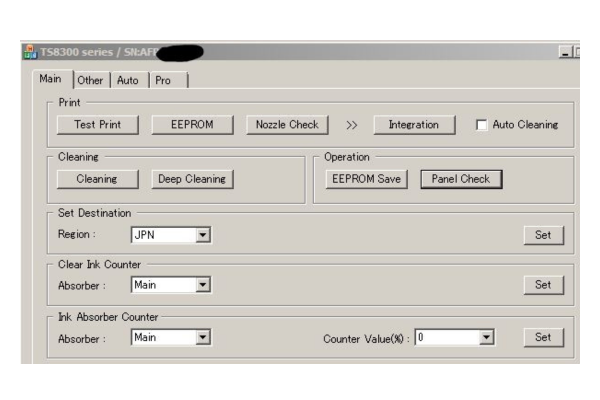
- Open the Canon Service Tool on your computer.
- Set Destination Region to ASA, then press Set.
- Under Clear Ink Counter, choose Main, then press Set.
- Under Ink Absorber Counter, choose Main, set counter to 0%, then press Set.
- The printer will process the reset and display a confirmation message: "A function was finished."
- Turn off the printer and restart it to complete the reset.
Step 3: Physically Clean or Replace the Ink Absorber Pads
If your printer still malfunctions after the reset, physical cleaning may be required:
- Open your printer and locate the ink absorber pads, usually found near the paper rollers.
- Carefully remove the pads using tweezers or a small tool.
- Wash the pads under running water until excess ink is removed.
- Let them dry completely before reinserting.
- If the pads are too saturated, consider replacing them with new ones.
Step 4: Final Testing
After performing the reset and cleaning steps, test the printer by:
- Turning it on and checking for error messages.
- Printing a test page to ensure smooth ink flow.
- Observing the LED lights—if they flash orange again, repeat the steps carefully.
Did this resolve the problem with your printer?
If the issue persists, you may call us for a home or office visit, or fill out an appointment form for assistance.